Certainly! Here’s a draft for a chapter on downloading and getting started with Tableau Public:
Chapter 2: Downloading and Getting Started with Tableau Public
Tableau Public is a free and accessible version of Tableau that allows you to create and share data visualizations publicly. This chapter will guide you through the process of downloading Tableau Public, setting it up, and getting started with your first visualization.
2.1 Downloading Tableau Public
2.1.1 Access the Tableau Public Website
To begin, navigate to the Tableau Public website at Tableau Public Download Page. This page provides information about Tableau Public and a link to download the application.
2.1.2 Download the Installer
On the Tableau Public download page, locate the download button. Click on it to start downloading the Tableau Public installer. The installer file will be downloaded to your computer, typically in your “Downloads” folder.
2.1.3 Install Tableau Public
Once the download is complete, open the installer file. Follow the on-screen instructions to install Tableau Public on your computer. The installation process is straightforward and involves agreeing to the software’s terms and conditions and choosing an installation location.
2.2 Setting Up Tableau Public
2.2.1 Launch Tableau Public
After installation, launch Tableau Public by clicking on its icon from your desktop or start menu. The first time you open Tableau Public, you may be prompted to sign in or create an account.

2.2.2 Create a Tableau Public Account
To use Tableau Public effectively, you need a Tableau Public account. If you don’t already have one, click on the “Sign Up” button to create a new account. Provide your email address, create a password, and complete any required fields. Your Tableau Public account will allow you to save and share your visualizations online.
2.2.3 Sign In to Tableau Public
Once you have created an account, sign in using your credentials. This will grant you access to all the features of Tableau Public and enable you to publish your visualizations.
2.3 Getting Started with Your First Visualization
2.3.1 Connect to a Data Source
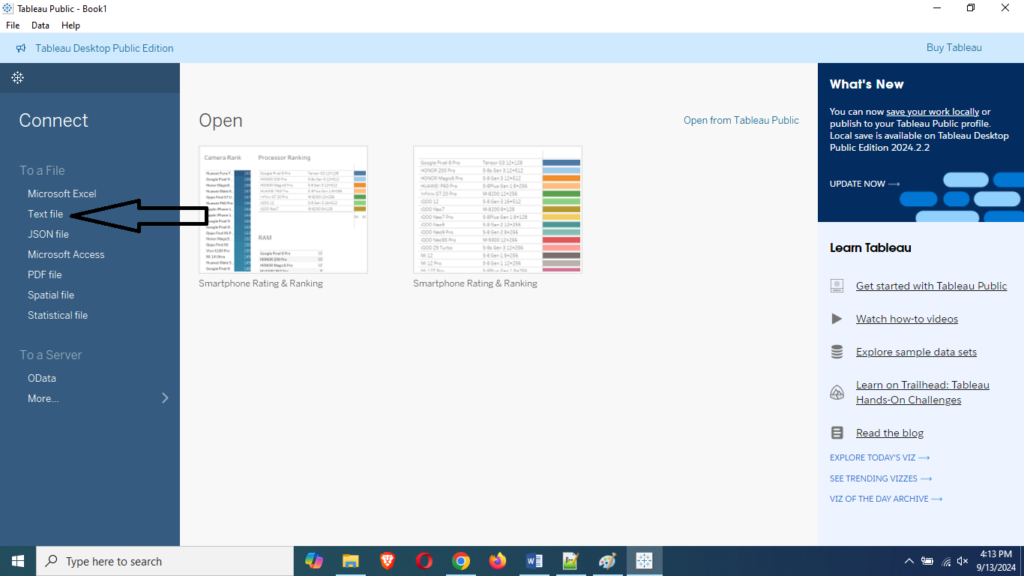
To start creating visualizations, you need to connect to a data source. Tableau Public supports various data sources such as Excel files, Google Sheets, and CSV files. To connect to your data, click on the “Connect” pane on the left side of the screen and select your data source. Follow the prompts to load your data into Tableau.
2.3.2 Explore the Tableau Interface
Familiarize yourself with the Tableau interface, which includes several key components:
- Data Pane: Displays your data fields and dimensions.
- Shelves: Allow you to drag and drop data fields to create visualizations.
- Worksheet: Where you design and build your visualizations.
- Dashboard: A collection of visualizations that can be arranged and customized.
2.3.3 Create a Simple Visualization
To create your first visualization, drag a data field from the Data Pane to the Rows or Columns shelf. Tableau will automatically generate a chart based on the data type. You can customize the chart by adding additional fields, changing chart types, and adjusting colors and labels.
2.3.4 Save and Publish Your Work
To save your work, click on the “File” menu and select “Save to Tableau Public.” You will be prompted to provide a name for your workbook and any necessary metadata. Once saved, your visualization will be published to your Tableau Public profile, where it can be accessed and shared with others.
2.4 Sharing Your Visualizations
2.4.1 Accessing Your Tableau Public Profile
To view and manage your published visualizations, visit your Tableau Public profile page. You can access this by clicking on your profile icon in Tableau Public and selecting “My Profile.”
2.4.2 Embedding Visualizations
Tableau Public provides options to embed your visualizations on websites and blogs. To do this, click on the “Share” button on your visualization and copy the embed code provided. Paste this code into your website or blog to display the visualization.
2.4.3 Sharing Links
You can also share direct links to your visualizations via email or social media. Click on the “Share” button and copy the URL to share with others.
This chapter provides a comprehensive overview of downloading, setting up, and using Tableau Public for creating and sharing data visualizations. By following these steps, you’ll be well on your way to leveraging the power of Tableau Public to explore and present your data.